Tuesday, June 22, 2010

Chore Cards


I got these from a blog I ran across and downloaded them and then added a bunch of mine own. I have four kids so I printed them in four colors. I had them laminated and punched a hole in one side. Each day I put on the ring the things I want them to do. So I have a whole stack of each color that is not being used that day. I put a rubber band around them. Today is our first day. Once they finished something they put it in the basket. Mya took hers apart and put them in the order she planned on doing them. There are also reward cards so it is good incentive for them to get the jobs done so we can have some fun. I am thinking of making some for myself and DH. I printed mine in black ink so they came out kind of dark. I think I'll end up printing some more later because I keep thinking of more things they can do as chores or rewards. For example, I forgot to do a "Bath or Shower" card and as a reward "Time with Dad." Once they have done a chore they take it off the ring and put it in the basket.

I made 3 snack time cards for their morning, afternoon and evening snack. Since school got out I feel like the kids are always eating so I have been lazy about making lunch or I don't feel like it because I know they won't be hungry. I know it's shocking but my kids are terrible at regulating a healthy diet. Hopefully this will help me keep better track of what everyone is eating. Mya and Cory can do all their jobs themselves but the cards are good for Em and Ballerina because it helps me to remember what they need to get done. Ballerina is trying to act like the cards don't apply to her.

Em wanted to have cake for her morning snack but I told her that cake is a treat and she would have to trade in her icecream card if she wanted it and then I gave her some ideas for a snack instead. She chose to have a healthy snack and not give up her icecream for later.

One of their rewards is a trip to the dollar store which I probably will put on their rings for Friday so if they've been doing a good job on their chores all week I will give them a dollar to spend so they won't have to use their allowance. No, I am not taking them to the dollar store every week.

Wednesday, June 9, 2010

Fun things you can find when you read a lot of blogs

I don't remember who's blog I found this on but it had the link to this fun website to make Google Maps envelopes. Have fun trying it out.

Monday, May 10, 2010

What I have been giving away...


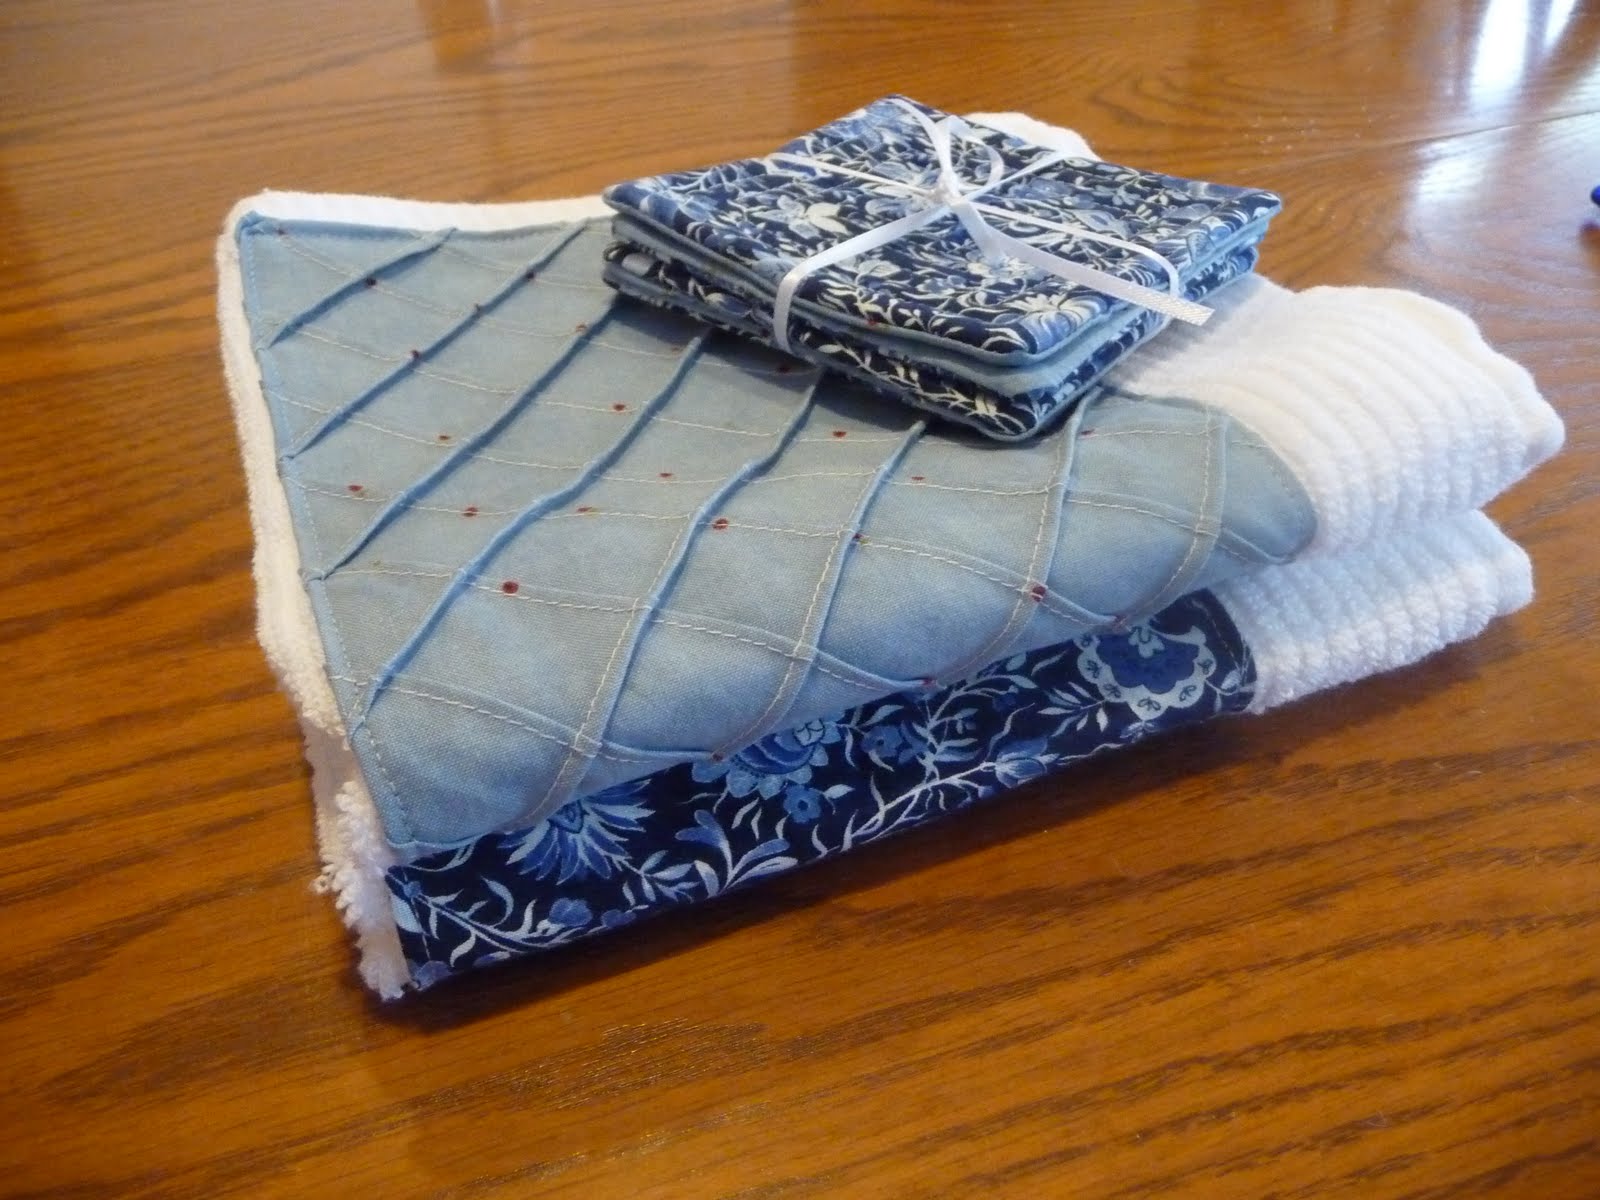
The blue ones I made recently for my friend Anth's birthday. I got this idea from Homemade by Jill. She does a lot of cute things that are really quite simple. So I started looking around for cute little things to go with them to complete the gift. Anth's had a small blue vase which I gave to her on her actual birthday but I had to finish the cloths and coasters later because there were just too many things to do and not enough time. I did pintucks on the blue one which was also an inspiration from Jill. Pintucks are so tailored looking and anyone who can sew straight lines can do pintucks. I love them.

I should have taken better pictures of the coasters. This green one was for my sister Staci's birthday. I found the tea pot at Goodwill and the fabric I had bought a while back just because I liked it. When I sent it I got matching jelly beans to put in the tea pot. It was really fun to put together.

Friday, April 30, 2010

What I found in the nightstand when I was taking it apart...

I think that this night stand might have belonged to Macgyver before my parents because these look like items that could be used to escape from a tight spot. That's a rifle bullet, penny and an Advil. The only thing missing is a stick of gum.

Thursday, April 29, 2010

What I am painting...

BEFORE

PRIME AND PAINT

PUT IT ALL BACK TOGETHER
AFTER:
GLAZED AND SET UP IN OUR BEDROOM
Do you like how I didn't even make our bed for the picture? We got a beautiful bedroom set for free from my parents but the dark woodgrain was too dark for my room decor and a bit dated. I used off white and I think you can appreciate all the details of the furniture better with the lighter color. I had a bit of a problem putting hardware back on but I was able to make it work. I wasn't sure if I was going to like the finish (brushed nickel) that I chose but ended up loving it. I can't wait to finish the bed frame and the large dresser with mirror. More pictures to follow of course. The set only came with one nightstand so this is on DH's side of the bed. I would like to find a small pedestal table for my side. For now all my things are on the floor.

If you want to learn how I did this go here. This night stand used one can of primer and two cans of paint. If I wasn't using the faux technique then I think I would have used at least another half can. Painting from dark to light takes A LOT of paint. It wasn't hard once I got the hang of it but it is time consuming. ***Extra time needed if you are a perfectionist!

Here's my tips:
  • Make sure you keep the paint at room temp. I was doing all my work in the garage where it's 50 to 60 degrees and that's not a good place to store the paint right before you are going to use it.
  • You must be in a well ventilated area. Wear a dust mask. I think I may even plug my nose with tissue before I start the next piece of furniture because I felt like my nose got burned out.
  • Keep all your hardware in a baggy or can so that none of it gets lost. I kept all my tools and hardware in a #10 can and that worked out well.
  • Remember to cover an area way wider than you will be painting.
p.s. I almost forgot tell you the coolest thing about this little nightstand. The top of it slide forward and in the back is a secret compartment for valuables. We have very few of those but now we have a cool hiding spot. The kids know about it so it doesn't really work for that.

UPDATE:
HERE'S THE LINK TO THE FINISHED BED SET.

Saturday, April 17, 2010

What I put up today...


(That's my lazy Saturday do.)
Mya and I put together this fabric covered cork board. So here is what I did.

1. I google searched "fabric covered cork board."
2. I used my 40% off coupon to buy the cork board at Michael's and another 40% off coupon to buy the spray on adhesive.
3. Bought the fabric and ric rac at JoAnn's.
4. A couple weeks later decided to get it done and it took less than two hours.
5. Cut the fabric using the inside measurements of the cork board plus leaving an extra two inches on each edge to fold under.
6. We pressed out the fabric and pressed two perpendicular sides under 2 inches.
7. We layed out newspaper on the floor of the garage for our work space and then used blue painter's tape around the frame of the cork board to protect it from the adhesive spray.
8. Sprayed the cork board with spray adhesive using sweeping motions back and forth.
9. Used the pre-folded sides of the fabric to line up on the edges first then smoothed the fabric across. Once it was pretty smooth I had to fold back the other two edges and fold them under then press it back down. Removed the painter's tape
10. I don't think I sprayed on enough glue but I did end up putting staples right along the edge of the folded fabric which ended up being mostly covered up by the ric rac.
11. Then we used fabric glue to put the ric rac on along the edge.
12. Last we hung it and replaced the girls fabric names around the edge which ended up putting too many little holes in the walls which was annoying. I even used the stud finder to make sure the hooks were nice and sturdy.

A couple weeks before I even started collecting all the supplies I found these cute fabric covered push pins at the dollar store and they ended up matching the fabric perfectly.

I think if you wanted you wouldn't have to fold the edge under 2 inches but then you would probably end up having to trim your fabric in the process because of the way the fabric stretches and pulls. You can't pre-fold all your edges for this same reason.

If I don't count the cost of the spray adhesive, which will be handy for other projects, then I think the whole thing cost me under $15. Once site I read a woman looks for old cork boards at garage sales and Goodwill which would be a much better deal.

Friday, April 9, 2010

What I made today...


I found this idea at Purl Bee and then I went here and ordered some felt and today I made this in about 30 minutes but only because I was taking my time and it was my first one. I think I could put one together in about 15 minutes. At first I was disappointed mine didn't turn out so great but then I decided it looks a lot like ones from Purl Bee and I shouldn't be so critical. I think I am going to make one more and send them to my niece for her birthday. Aren't they cute?